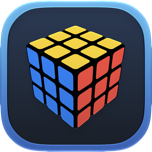
A yellow top face and two solved lower layers.
Yellow up. When you find a matching pair, line it up with its side centre and hold that side on the left.
1. Look for a matching pair
On each side, compare the two top corner stickers. Ignore the edge sticker between them. Two corner stickers of the same colour make a matching pair, sometimes called ‘headlights’.
| What you see | What to do |
|---|---|
| Matching pairs on all four sides | Turn U until the pairs match their centres. The corners are now in place. |
| One matching pair | Turn U to line up that pair with its centre, then rotate the whole cube sideways to put the pair on the left. |
| No matching pair | With any face at the front, perform the T sequence once. Find the matching pair it creates and set it up on the left. |
Compare the two corner stickers with each other first. A match between one corner and a centre is insufficient to identify a pair.
2. Swap the two right-hand corners
R U R' U' R' F R2 U' R' U' R U R' F'
This is called the T permutation. It exchanges the two top-right corners while keeping yellow upward. It also moves two top edges, which we will solve in the next lesson.
Learn the sequence in three groups of moves, keeping the cube in the same orientation throughout:
R U R' U'R' F R2 U' R' U'R U R' F'
3. Recheck before repeating
If you started without a matching pair, the first application only creates one. Line up that pair with its centre, put it on the left and perform T again. If you started with a matching pair on the left, one application should put the corners in place.
Turn U if needed to align all the top corner colours with the centres. Check the side stickers of all four corners, not just the pair you started with.
4. Leave the edges for the next lesson
You may see a top row like blue–red–blue: both corners are correct and the edge is still wrong. That is exactly the state we need for the final edge cycle. Do not twist yellow corners again.
Need a reminder of the move notation?
R right · L left · U top · D bottom · F front · B back. A plain letter means a 90° clockwise turn as you look directly at that face. An apostrophe (′) reverses the turn. A 2 means a 180° turn. Keep the same face towards you throughout the algorithm.
Watch, then try
Work through an example
Start by stepping through the example one move at a time. This example demonstrates a specific action. Use the lesson’s setup instructions to recognise when that action applies to your own scramble.
Watch one worked example
The matching top-corner pair is on the left. T swaps the two top-right corners. During a normal solve, some top edges may still be out of place once the corners are correct.
Example grip: yellow up · blue front · red right at the start. Follow any written whole-cube rotations.
0 / 14
Loading 3D cube…
Prepared position · 0 / 14 moves
Use Next move to follow the sequence.
Drag to inspect other faces. When the cube has focus, use the arrow keys to rotate the view.
Copy this exact example on your own cube
Start with a solved 3×3, with yellow on top and blue facing you. Follow the setup moves below from left to right to recreate the example’s starting position. Keep this example separate from the scramble you’re solving throughout the course.
F R U' R' U R U R2 F' R U R U' R'Then follow the lesson sequence. If your cube has a different colour scheme, use your own colours to identify the corresponding pieces.
Compare the starting position and the result
Drag each cube to inspect its other faces.
Explain it to yourself
Check your understanding
Now use your own cube
Your turn
Compare the two top corner stickers on each side, ignoring the edge between them. Use the matching pair to set up the T permutation, then check all four corners.
Open a 3×3 Digital Cube for practiceThe Digital Cube opens in a new tab so you can keep this lesson open while you practise. Check for yourself whether you’ve met the lesson goal, as the Digital Cube doesn’t assess your result.
If you get stuck
The yellow face is solved, but the top rows on the sides are mixed.
Check the corners separately. If both top corner stickers on each side match that side’s centre, move on to the final edges even if the edge between the corners is out of place.
T didn’t put all the corners in place.
If you started without a matching pair, turn U to line up the pair created by the first T with its centre. Then put the pair on the left before performing T again.
Before moving on
Check your result
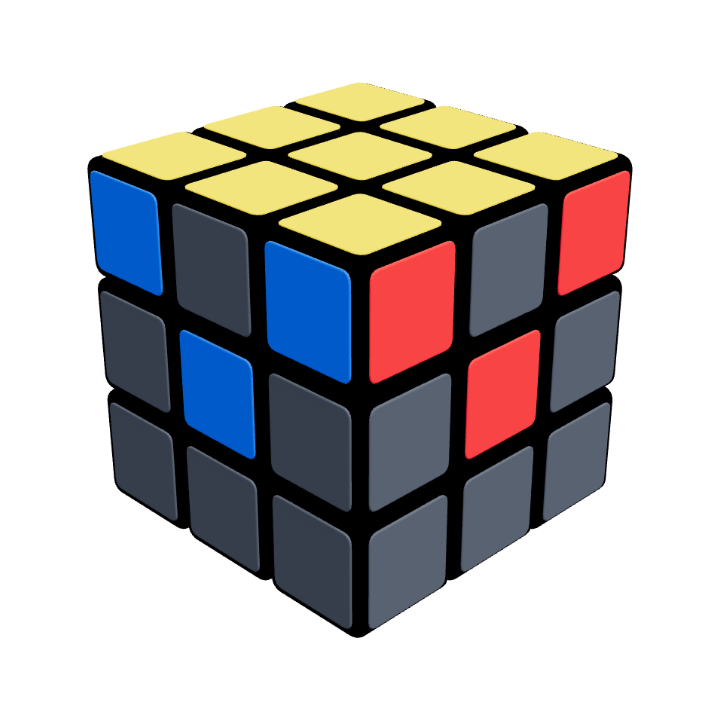
Your cube at this stage
Yellow corners in place
Both top corner stickers on each side match its centre. The three remaining top edges still need to cycle.
Confirm these on your cube. Watching the animation alone does not complete the lesson.
Tick each item when you can do it yourself.