A solved white layer with matching bottom side pairs.
Yellow up and white down. Keep the same front until every yellow corner is oriented.
1. Read the whole procedure before turning
The white layer will look mixed while you twist the top corners. It will be restored once you finish all the corners with the same grip. Finish the procedure without stopping to fix the white layer.
Choose a colour for the front and keep it facing you. Turn U to bring a corner whose yellow sticker faces sideways to top-front-right.
2. Twist the working corner
R' D' R D
Repeat the full four-move block two or four times until yellow faces up on that corner. Finish the last D even if yellow has already appeared on top. This routine uses D, not the U-based trigger from the first layer.
3. Move to the next corner with U only
Use U, U′, or U2 to bring another corner whose yellow sticker faces sideways to the same top-front-right position. Keep the whole cube facing the same way. Twist this corner using the same complete four-move sequences.
Continue until all four top stickers are yellow. Skip corners that are already oriented. Then turn U to align the top layer if needed. The white layer and its side pairs should be restored.
4. Leave corner positions for the next lesson
A yellow face can have its corners in the wrong order. That is fine for now. The next lesson rearranges them while preserving the yellow and white faces.
The prepared example has two corners to twist. The white layer is restored only after you’ve twisted both corners and realigned the top layer.
Watch, then try
Work through an example
Start by going through the moves one at a time. The prepared example shows a specific action. Use the lesson’s setup instructions to recognise when to apply it to your own scramble.
Watch one worked example
Orient two corners while keeping the same grip. Use U to bring the next corner into position and keep the whole cube facing the same way. Watch the white layer return to its solved state at the end.
Starting grip. Yellow up · blue at the front · red on the right. Follow any written instructions for rotating the whole cube.
0 / 26
Loading 3D cube…
Prepared position · 0 / 26 moves
Use Next move to follow the sequence.
Drag to inspect other faces. Use the arrow keys to rotate the view when the cube has focus.
Copy this exact example on your own cube
Start with a solved 2×2. Hold it with yellow on top and blue at the front. Apply the setup moves below from left to right to create the example’s starting position. Keep this example separate from the scramble you’re solving through the course.
U D' R' D R D' R' D R D' R' D R D' R' D R U' D' R' D R D' R' D RThen follow the lesson sequence. If your cube’s colour scheme differs, match the piece relationships using your own colours.
Compare the starting position and the result
Drag each cube to inspect its other faces.
Explain it to yourself
Check your understanding
Now use your own cube
Your turn
Use U to bring each corner whose yellow sticker is facing sideways to top-front-right. Twist it using complete four-move sequences, then use only U to bring the next corner into position.
Open a 2×2 Digital Cube for practiceOpens in a new tab so you can refer to this lesson while you practise. Check for yourself whether you’ve met the lesson goal. The Digital Cube does not grade your work.
If you get stuck
The white layer looks mixed halfway through.
Keep the same grip until every yellow corner is oriented. Use only U between corners.
The white layer is still mixed at the end.
Check for a missed D or a whole-cube rotation between corners. Undo the known mistake, or recover the first layer and restart this step.
Before moving on
Check your result
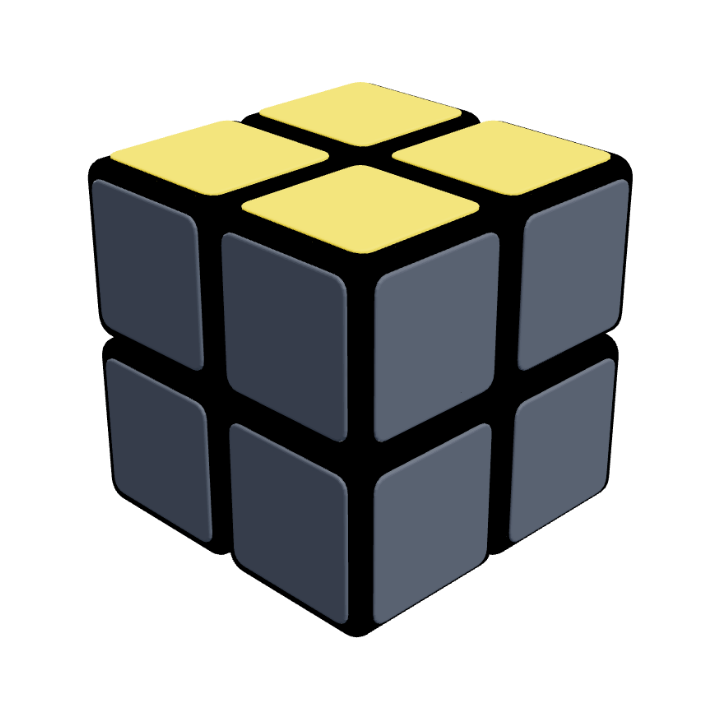
Your cube at this stage
Yellow face oriented
White and yellow faces are complete. The top side pairs can still be in the wrong order.
Confirm these on your cube. Watching the animation alone does not complete the lesson.
Tick each item once you can do it yourself.