A yellow face, two solved lower layers, and all four top corners aligned with their side centres.
Yellow up. Put a completely solved side at the back by rotating the whole cube sideways.
1. Find a fully solved side
The corners are already in the right places. Inspect all four side faces for one whose top edge also matches its centre. That entire side will be a single colour.
Rotate the whole cube sideways to put this side at the back, keeping yellow facing up. Avoid using U to reposition the solved side, as that would move the aligned corners out of place.
2. Cycle three edges
R U' R U R U R U' R' U' R2
This cycles the other three top edges while leaving all the corners and the back edge in place. Complete all eleven moves before checking the result.
- If every face is a single colour, your cube is solved.
- If the same three edges are still incorrect, keep the same face at the back and repeat the sequence once. Depending on the direction, you may need to apply the three-edge cycle once or twice.
3. If no side is solved
With yellow facing up, perform the sequence once with any side facing front. A solved side will appear. Rotate the whole cube to put that side at the back, then cycle the edges once or twice as in step 2.
This handles both opposite and adjacent double swaps. Do not use a different sequence merely because the first application did not finish the cube.
4. Check every face
Check the bottom, back and left faces as well as the visible top, front and right faces. Every sticker on each face must match its centre. If any corners are incorrect, revisit the previous lesson. If only the edges are incorrect, stay with this stage.
Your first solve is complete when each of the six faces is a single colour. The next lesson helps you repeat the entire method with fewer prompts.
Need a reminder of the move notation?
R right · L left · U top · D bottom · F front · B back. A letter on its own means a 90° clockwise turn when you look directly at that face. A prime mark (′) reverses the turn. A 2 means 180°. Keep the same face at the front throughout an algorithm.
Watch, then try
Work through an example
Start by going through the moves one at a time. The prepared example shows a specific action. Use the lesson’s setup instructions to recognise when to apply it to your own scramble.
Watch one worked example
The back side is solved. Watch the other three top edges cycle while every corner stays in place. This example needs one application.
Starting grip. Yellow up · blue at the front · red on the right. Follow any written instructions for rotating the whole cube.
0 / 11
Loading 3D cube…
Prepared position · 0 / 11 moves
Use Next move to follow the sequence.
Drag to inspect other faces. Use the arrow keys to rotate the view when the cube has focus.
Copy this exact example on your own cube
Start with a solved 3×3 with yellow facing up and blue facing front. Apply the setup moves below from left to right to create the example’s starting position. Keep this example separate from the scramble you are solving as you work through the course.
R2 U R U R' U' R' U' R' U R'Then follow the lesson sequence. If your cube’s colour scheme differs, match the piece relationships using your own colours.
Compare the starting position and the result
Drag each cube to inspect its other faces.
Explain it to yourself
Check your understanding
Now use your own cube
Your turn
Find a solved side, hold it at the back and cycle the remaining edges. If no side is solved, perform one cycle, then find the solved side it creates and put it at the back.
Open a 3×3 Digital Cube for practiceOpens in a new tab so you can refer to this lesson while you practise. Check for yourself whether you’ve met the lesson goal. The Digital Cube does not grade your work.
If you get stuck
The corners moved out of alignment before I began.
You probably used U to position the solved side. Undo that setup turn and rotate the whole cube sideways instead.
The cycle did not solve the three edges.
Keep the solved side at the back and repeat the full cycle once more. The reverse direction takes two applications of the sequence.
Before moving on
Check your result
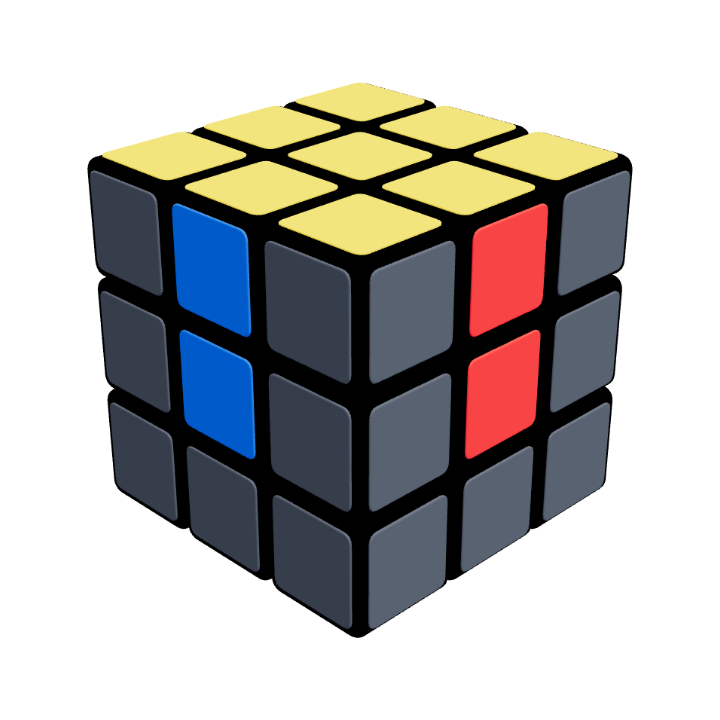
Your cube at this stage
All six faces solved
Every face is one colour. Check the back and bottom as well as the faces you can see here.
Confirm these on your cube. Watching the animation alone does not complete the lesson.
Tick each item once you can do it yourself.