You have completed the first-layer and last-layer lessons.
Keep white facing down while you solve the first layer. Keep yellow facing up for the last layer.
1. Start from your own scramble
Scramble your cube by turning several faces. The animation below shows only the final corner swap, so use it to review that step of the full solve.
Choose a white reference corner. Look at both side colours to decide where the other white corners belong.
2. Work through three checkpoints
| Stage | What to check before continuing | Review |
|---|---|---|
| First layer | White down and four matching bottom side pairs | Build the white layer |
| Last-layer orientation | Yellow up and the white layer restored | Turn the last face yellow |
| Last-layer corner positions | All six faces are solved after aligning the top layer with U | Put corners in order |
If your cube already meets a checkpoint, skip the moves for that stage. Otherwise, open the lesson for that checkpoint, recognise the case you have and follow the instructions for how to hold the cube.
3. Handle the common sticking points
If the white face is complete but its bottom side pairs don’t match, reposition the corners. If the white layer looks scrambled during yellow-corner twisting, keep the same grip and finish the twisting procedure. If the yellow face is solid but the sides are mixed, stop twisting and permute the corners.
These three situations look similar if you only look at one face. Inspect the side pairs before deciding what to repeat.
4. Try a second solve
Use your own cube and stop the animation. Try to choose each stage without looking at the checklist first. It’s fine to look up a move sequence. Focus on recognising when to use it.
Once you can finish the solve consistently, you can practise turning more smoothly or move on to the 3×3 course. There’s no need to rush on a smaller cube.
Need a reminder of the move notation?
R right · L left · U top · D bottom · F front · B back. A plain letter means a 90° clockwise turn as you look directly at that face. An apostrophe (′) reverses the turn. A 2 means a 180° turn. Keep the same face towards you throughout the algorithm.
Watch, then try
Work through an example
Start by stepping through the example one move at a time. This example demonstrates a specific action. Use the lesson’s setup instructions to recognise when that action applies to your own scramble.
Watch one worked example
Review the final T permutation using the worked example. For the full solve, use the three checkpoints above on your own scrambled cube.
Example grip: yellow up · blue front · red right at the start. Follow any written whole-cube rotations.
0 / 14
Loading 3D cube…
Prepared position · 0 / 14 moves
Use Next move to follow the sequence.
Drag to inspect other faces. When the cube has focus, use the arrow keys to rotate the view.
Copy this exact example on your own cube
Start with a solved 2×2, with yellow facing up and blue facing you. Apply the setup moves below from left to right to create the example’s starting position. Keep this example separate from the scramble you’re solving throughout the course.
F R U' R' U R U R2 F' R U R U' R'Then follow the lesson sequence. If your cube has a different colour scheme, use your own colours to identify the corresponding pieces.
Compare the starting position and the result
Drag each cube to inspect its other faces.
Explain it to yourself
Check your understanding
Now use your own cube
Your turn
Scramble your cube and solve it using the three checkpoints below. Repeat with a second scramble, consulting only the step where you get stuck.
Open a 2×2 Digital Cube for practiceThe Digital Cube opens in a new tab so you can keep this lesson open while you practise. Check for yourself whether you’ve met the lesson goal, as the Digital Cube doesn’t assess your result.
If you get stuck
I keep repeating a sequence without progress.
Finish the sequence, then identify the first checkpoint your cube hasn’t met. Hold the cube as shown in that lesson before trying its moves again.
Before moving on
Check your result
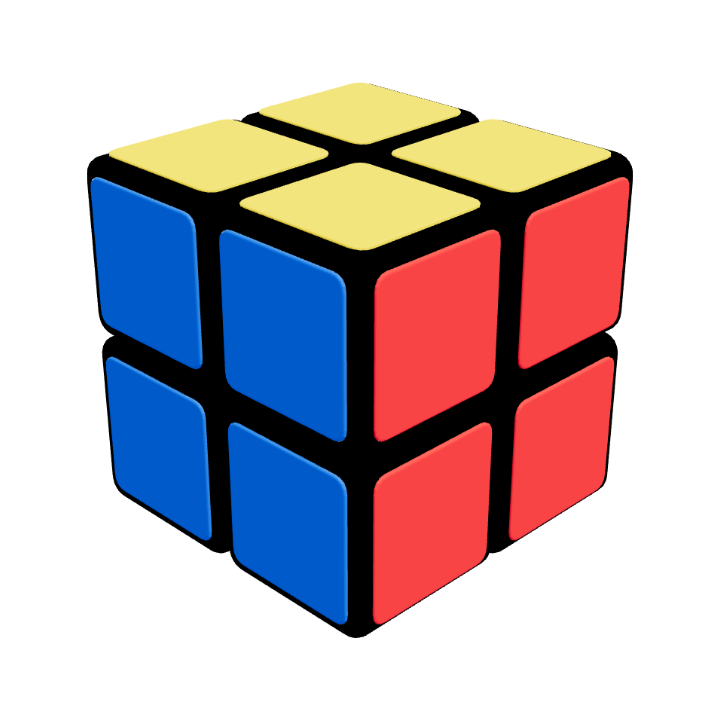
Your cube at this stage
All six faces solved
Every face is one colour. Check the back and bottom as well as the faces you can see here.
Confirm these on your cube. Watching the animation alone does not complete the lesson.
Tick each item when you can do it yourself.