You have studied all 4×4 stages and can solve a 3×3.
Restore your chosen orientation after reduction; use white down and yellow up for the shared solve.
1. Start with a new scramble
Scramble your cube with outer and wide turns so that both the centres and the edges need work. Use your own cube for this lesson. The animation below reviews the final edge cycle using a separate example.
2. Check each stage before moving on
| Stage | Checkpoint | Review |
|---|---|---|
| Centres | Six solid centre blocks in the colour order set by the corners | Build centres |
| Pairing | Twelve pairs of matching wings | Pair edges |
| Reduced solve | Solve the first layers, then orient and position the last-layer pieces | Use the 3×3 method |
| Orientation exception | One or three edge groups with yellow facing up → apply the repair, then return to the yellow-cross step | OLL parity |
| Permutation exception | Two swapped edge groups → apply the repair, then finish the edge cycle | PLL parity |
Apply a repair only if its case is present. Keep your cube in its current state while you review a lesson.
3. Diagnose the earliest unfinished stage
If the centres are solid but some wings are still unmatched, keep pairing. Once all edge groups are complete, you can begin the ordinary 3×3 solve even if some groups are out of place. An edge group with even one unmatched piece is incomplete, even if most of the cube looks solved.
If the centre blocks are solid but the colour order is wrong, correct the order before you resume edge pairing. Use the corners to check the colour order on a 4×4, which has no fixed centre pieces.
4. Do a second solve with less help
Solve all six faces, then choose one skill to practise again: building centre bars, setting up edges, or reading how many layers each turn in a parity repair uses. On your next scramble, try that stage without replaying the worked example.
Completion means that you can identify what to do and check whether it worked. Looking up a long parity sequence is still fine.
Need a reminder of the move notation?
R right · L left · U top · D bottom · F front · B back. A plain letter means a 90° clockwise turn as you look directly at that face. An apostrophe (′) reverses the direction. A 2 means a 180° turn. Keep the same face toward you throughout the algorithm.
Rw turns the rightmost two layers together. 2R turns only the second layer from the right. 3Rw turns three layers. x rotates the whole cube like R, so the old front becomes the new top.
Watch, then try
Work through an example
Start by going through the example one move at a time. It shows a specific action from a prepared position. Use the lesson’s setup instructions to recognize when that action applies to your own scramble.
Watch one worked example
Review the final edge cycle on a 4×4 set up for the example. It uses only outer turns. For the full exercise, start from a fresh scramble and follow the checkpoints above.
Example grip: yellow up · blue front · red right at the start. Follow any written whole-cube rotations.
0 / 11
Loading 3D cube…
Prepared position · 0 / 11 moves
Use Next move to follow the sequence.
Drag to inspect other faces. Use the arrow keys to rotate the view when the cube has focus.
Copy this exact example on your own cube
Start with a solved 4×4, with yellow on top and blue at the front. Apply the setup below from left to right to create the example’s starting position. Keep this practice setup separate from the scramble you’re solving throughout the course.
R2 U R U R' U' R' U' R' U R'Then follow the lesson sequence. If your cube’s colour scheme differs, match the piece relationships using your own colours.
Compare the starting position and the result
Drag each cube to inspect its other faces.
Explain it to yourself
Check your understanding
Now use your own cube
Your turn
Scramble your cube with outer and wide turns. Build the centres, pair the edges, and solve the reduced cube. If you get stuck, use the checkpoint table to find the stage that still needs work.
Open a 4×4 Digital Cube for practiceOpens in a new tab so you can keep this lesson open while you practise. Check for yourself whether you’ve met the lesson goal. The Digital Cube doesn’t grade your work.
If you get stuck
I’m not sure whether to keep pairing edges or start the 3×3 solve.
Check both faces of all twelve edge groups. The pieces in each group must match on both faces before you solve the reduced cube.
Before moving on
Check your result
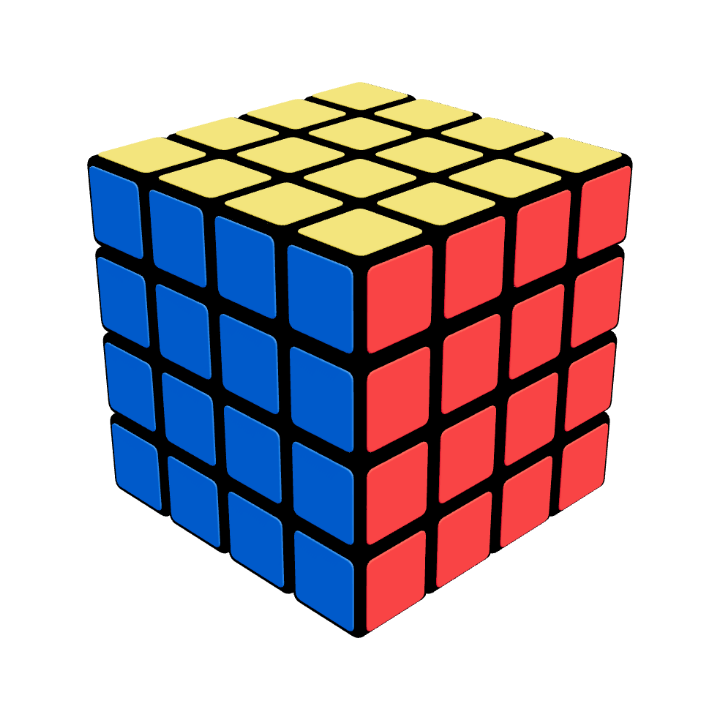
Your cube at this stage
All six faces solved
Every face is one colour. Check the back and bottom as well as the faces you can see here.
Confirm these on your cube. Watching the animation alone does not complete the lesson.
Check off each item once you can do it yourself.