The top face is yellow, the first two layers are solved and the top corners are aligned.
Hold the cube with yellow up. Rotate the whole cube so the completely solved side is at the back.
1. Check corners and edges separately
PLL means permuting the last layer, which moves pieces that are already oriented into their correct positions. In this lesson, you practise the three-edge cycle from the beginner course. The lesson covers just this cycle within the full set of PLL cases.
Check that the two top corner stickers on each side match that side’s centre. If they do not, complete corner positioning first.
2. Find the fixed edge
One side should be completely solved. Rotate the whole cube sideways to put it at the back. The other three top edges need to cycle through the remaining positions. Keep all the layers in place as you regrip, since a U turn would move the aligned corners.
Before turning, use each edge’s side colour to say where it belongs. This helps you recognise where the pieces need to go as well as count the misplaced stickers.
3. Perform and check the cycle
R U' R U R U R U' R' U' R2
In the prepared case, one application solves the edges. If the edges need to cycle in the opposite direction, apply the same sequence twice. Keep the same side at the back for the second application.
If no side is solved, applying the algorithm once creates a solved side. Regrip to put it at the back, then continue with one or two cycles. This is a different starting case, so check the cube between applications.
4. Practise recognising the cycle before building speed
Apply the setup moves to a solved cube and name the three destinations before performing the cycle. Repeat the exercise using the algorithm itself as the setup to create a cycle in the opposite direction.
Once you can recognise the cycle consistently, shorten the pauses between moves in the sequence. Add new PLL cases gradually using a dedicated reference such as J Perm’s beginner PLL collection.
Need a reminder of the move notation?
R right · L left · U top · D bottom · F front · B back. A letter on its own means a 90° clockwise turn when you look directly at that face. A prime mark (′) reverses the turn. A 2 means 180°. Keep the same face at the front throughout an algorithm.
Watch, then try
Work through an example
Start by going through the moves one at a time. The prepared example shows a specific action. Use the lesson’s setup instructions to recognise when to apply it to your own scramble.
Watch one worked example
Track the three moving edge pieces and the back edge that stays put. This is a recognition drill for the same cycle used at the end of the beginner method.
Starting grip. Yellow up · blue at the front · red on the right. Follow any written instructions for rotating the whole cube.
0 / 11
Loading 3D cube…
Prepared position · 0 / 11 moves
Use Next move to follow the sequence.
Drag to inspect other faces. Use the arrow keys to rotate the view when the cube has focus.
Copy this exact example on your own cube
Start with a solved 3×3 with yellow facing up and blue facing front. Apply the setup moves below from left to right to create the example’s starting position. Keep this example separate from the scramble you are solving as you work through the course.
R2 U R U R' U' R' U' R' U R'Then follow the lesson sequence. If your cube’s colour scheme differs, match the piece relationships using your own colours.
Compare the starting position and the result
Drag each cube to inspect its other faces.
Explain it to yourself
Check your understanding
Now use your own cube
Your turn
Identify the solved side and name the three misplaced top edges before playing the example. Then solve the opposite cycle by applying the same sequence twice.
Open a 3×3 Digital Cube for practiceOpens in a new tab so you can refer to this lesson while you practise. Check for yourself whether you’ve met the lesson goal. The Digital Cube does not grade your work.
If you get stuck
I cannot find a solved side.
Check the corner alignment first. Once the corners are in place, perform one edge cycle. Find the side it solves and rotate the whole cube to put that side at the back before continuing.
Before moving on
Check your result
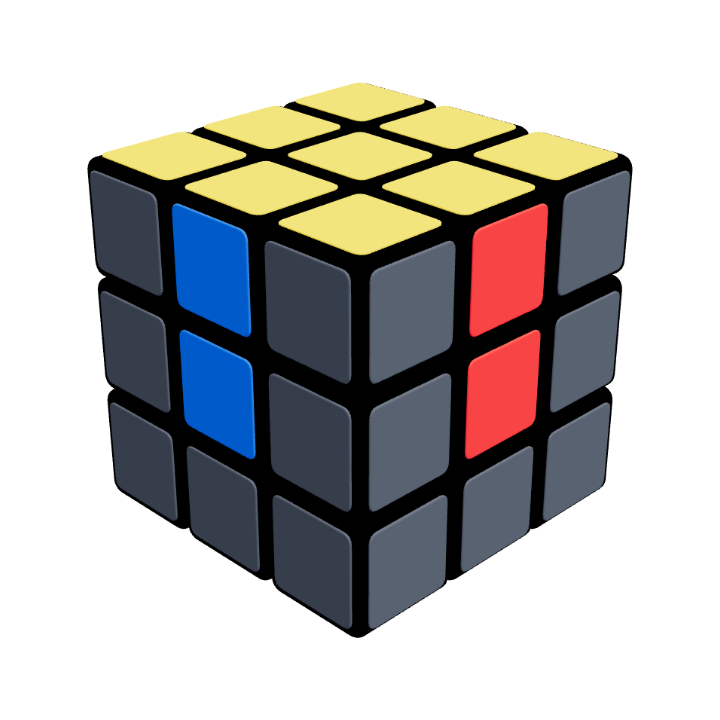
Your cube at this stage
All six faces solved
Every face is one colour. Check the back and bottom as well as the faces you can see here.
Confirm these on your cube. Watching the animation alone does not complete the lesson.
Tick each item once you can do it yourself.