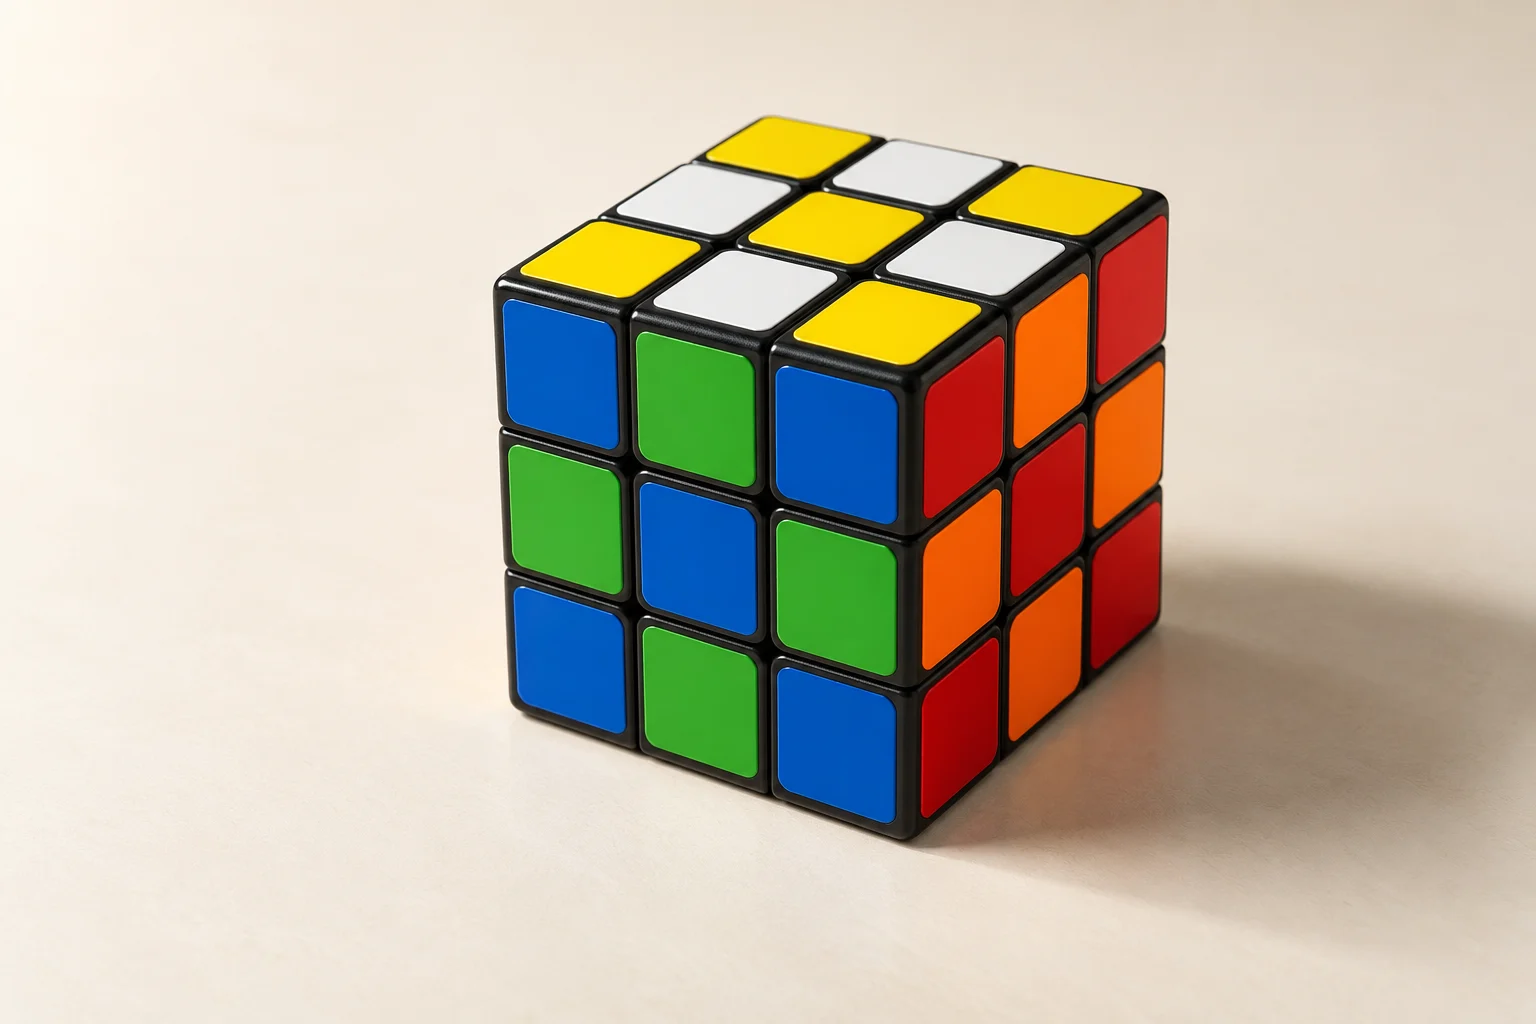
Permutation of the last layer (PLL) puts already oriented last-layer pieces into their correct positions. Before using these algorithms, the first two layers must be solved and every top sticker must show the top colour. If corners are still twisted or top edges are flipped, return to last-layer orientation.
Use yellow on top for the examples below. “Front,” “right,” and “back” refer to the faces as you hold them, not to a colour that is always assigned to that direction. Keep this orientation fixed throughout a sequence.
T permutation: exchange two corners and two edges
R U R' U' R' F R2 U' R' U' R U R' F'
This sequence exchanges the two top corners on the right and the top-left and top-right edge pieces. It preserves the first two layers and the orientation of the top layer. It is useful for learning to distinguish corner position from corner orientation.
Prepare a known case: start with a solved cube and apply the sequence once. Inspect the corners and edges that moved, then apply the sequence a second time without changing your grip. The cube returns to its solved state. This controlled exercise is safer than applying the algorithm to an arbitrary last-layer state and assuming it will solve it.
For other corner arrangements, follow the recognition and setup steps in positioning the last-layer corners. A top-layer adjustment may be needed after the permutation. Do not use this step while the top corners still need twisting.
Three-edge cycle: preserve all the corners
R U' R U R U R U' R' U' R2
This sequence cycles the top-front, top-right and top-left edge pieces while leaving the top-back edge fixed. All corners, the first two layers, and top-face orientation stay unchanged. Hold the completely solved side at the back before using it on a matching case.
Prepare a known case: start with a solved cube and perform the inverse sequence below once. Then perform the sequence above. The cube should be solved. Check the back face and corner alignment before and after, rather than judging the result by the yellow face alone.
The opposite three-edge cycle
R2 U R U R' U' R' U' R' U R'
This is the inverse of the previous algorithm. It cycles the same three edges in the opposite direction and keeps the same back edge fixed. To set up this case for practice, start with a solved cube and perform the previous algorithm once.
You can also solve the opposite cycle by repeating the first sequence twice. That takes more moves but reduces the amount you need to memorise while learning. Both options produce the same final piece arrangement.
Recognise the case before choosing the moves
- Check that the lower two layers are solved and the entire top face is yellow.
- Compare the two top corner stickers on each side with the centre below them. If they do not match, deal with corners first.
- If corners are correct, find a side whose top edge also matches its centre. Rotate the whole cube to put that solved side at the back. Do not turn U during this regrip: that would move the aligned corners.
- Use the side colours to work out where the three remaining edges belong. Choose the cycle direction that moves each edge towards its correct centre.
- After the sequence, check every side and the bottom. An entirely yellow top is necessary but is not proof of a solved cube.
If no side is solved while the corners are aligned, use the guided final-edge lesson to create and recognise a three-edge case. These three sequences are a small practice set within the complete 21-case PLL system.
Practise without losing your place
Use the worked example in the three-edge cycle lesson for a prepared starting state, move-by-move playback, and a checkpoint. The algorithms reference links to Digital Cube practice. Read the notation guide if a prime or half-turn is unfamiliar.
Start slowly enough to keep the same face at the front. Once you can solve a prepared case consistently, practise recognising it with the whole cube held at different angles. Build speed only when you can reliably set up the case and perform the sequence.