You can identify corners and choose a white reference corner.
Keep one front face fixed. White will stay down in the solving lessons.
1. Face letters depend on how you hold the cube
R is right, L left, U up, D down, F front, and B back. A letter refers to a position, not a colour. During a sequence, hold the same front toward you.
On a 2×2, each face turn moves one layer of four corners. The far layer stays still relative to your grip.
2. Suffixes tell you how far and which way
A letter on its own means a 90° clockwise turn as you look directly at that face. An apostrophe means a 90° anticlockwise turn. A 2 means a 180° turn in either direction.
| Move | Meaning |
|---|---|
R |
Turn the right face clockwise as viewed from the right |
U' |
Turn the top face anticlockwise as viewed from above |
D' |
Turn the bottom face anticlockwise as viewed from below |
R2 |
Turn the right face halfway round |
3. Learn the insertion routine
R U R' U'
Perform the four moves in order and finish the final U′. This small routine is called a trigger. You will use it only after putting a target corner directly above its home.
For now, repeat it six times. Six repetitions return the cube to its exact starting state, whether solved or scrambled. This is a useful check of your turns; it is not a general solution.
4. Keep turns separate from regripping
A U turn moves only the top layer. Rotating the whole cube changes which faces you call front, right and back. Later, when twisting the yellow corners, use U turns between corners with no whole-cube rotation. Practise telling the two actions apart now.
Watch, then try
Work through an example
Start by going through the moves one at a time. The prepared example shows a specific action. Use the lesson’s setup instructions to recognise when to apply it to your own scramble.
Watch one worked example
Repeat the four-move trigger six times on this scrambled cube. At the end, every piece returns to its starting position. In the next lesson, you’ll start solving the white layer.
Starting grip. Yellow up · blue at the front · red on the right. Follow any written instructions for rotating the whole cube.
0 / 24
Loading 3D cube…
Prepared position · 0 / 24 moves
Use Next move to follow the sequence.
Drag to inspect other faces. Use the arrow keys to rotate the view when the cube has focus.
Copy this exact example on your own cube
Start with a solved 2×2. Hold it with yellow on top and blue at the front. Apply the setup moves below from left to right to create the example’s starting position. Keep this example separate from the scramble you’re solving through the course.
R U R' F2 D L2 B U2Then follow the lesson sequence. If your cube’s colour scheme differs, match the piece relationships using your own colours.
Compare the starting position and the result
Drag each cube to inspect its other faces.
Explain it to yourself
Check your understanding
Now use your own cube
Your turn
Try R then R′, U then U′, and U2 twice. Then repeat R U R′ U′ six times from any starting state and check that the cube returns to that state.
Open a 2×2 Digital Cube for practiceOpens in a new tab so you can refer to this lesson while you practise. Check for yourself whether you’ve met the lesson goal. The Digital Cube does not grade your work.
If you get stuck
The drill does not return to the starting state.
Count six complete four-move repetitions, check the apostrophes, and keep the same front face throughout.
Before moving on
Check your result
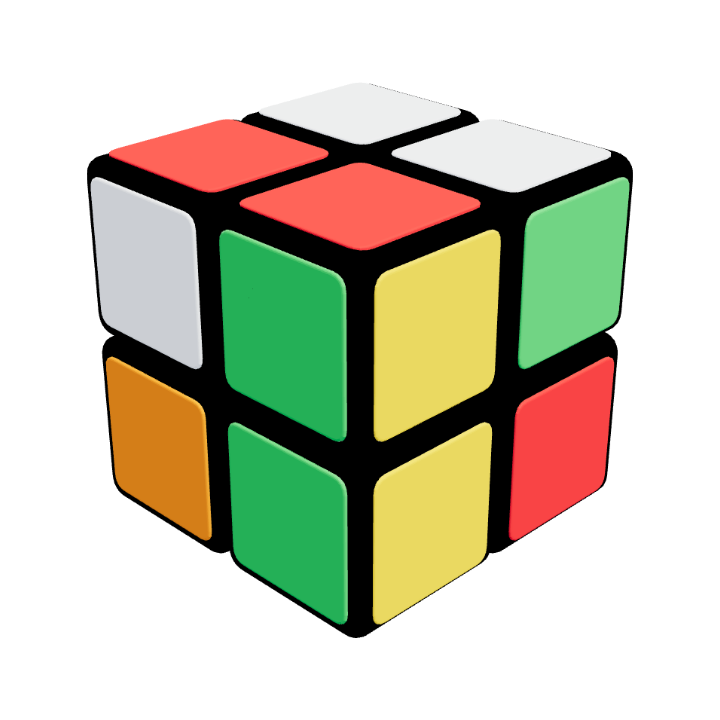
Preparation · no solving yet
Return to the same scramble
Six complete triggers restore the scramble you started with. Begin solving the white layer in the next lesson.
Confirm these on your cube. Watching the animation alone does not complete the lesson.
Tick each item once you can do it yourself.